Floor boards - Size and color up to you. I chose to use a wider cut since my mirror was so big.
Liquid Nails - Look for the one that says "Mirror" on it.
Gun - for Liquid Nails and Caulking
Caulk
Painters tape
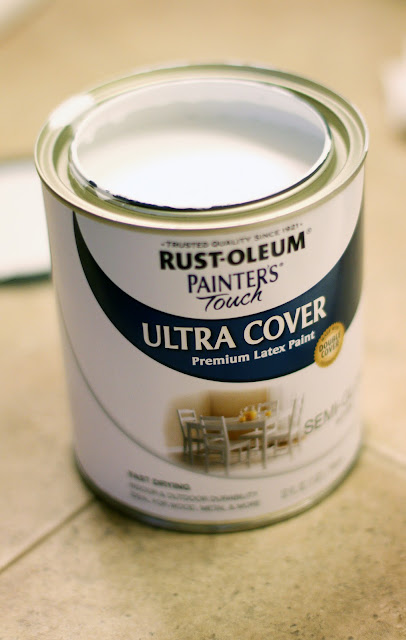
Paint
Before.

(Tips before you start: Get out of work clothes. Hubby luckily didn't ruin any of his nice digs, but I got paint and caulk on my shirt and pants before the project was through. Good thing I wore scrubs! Don't worry fans, I didn't mess up my Beatles shirt.)
Steps we used to frame our mirror:
1. Measure mirror and cut floor boards at 45 degrees. My Home Depot has a "Cut it Yourself" station with a miter saw and board.
2. Line back of frame (start with the bottom piece) and place onto mirror using tape to hold it in place. Board may be a little warped so do your best to tape it as close to the mirror as possible. Wait about 15-20 minutes for glue to set.
3. Place side pieces gluing the backs and the corners of boards so that it attaches to the mirror and the bottom board. Tape in place.
4. Wait about 20 minutes for glue to set and then finish gluing the frame together by adding the top piece. Tape in place.

5. Let glue set for at least 1 hour. Check often if boards have shifted or become unglued. Use tape to fix any issues.
6. Caulk corners and cracks between mirror. Let dry.
7. Let glue and caulk set and dry. We waited over night before removing the tape.
8. Remove tape and paint frame. The paint I chose was an indoor/outdoor paint to keep it from peeling or cracking in the humidity of the bathroom.
9. Admire!!
After


 Let me start off by stating, I
  Honestly it still brings tears to my eyes.
 When I was pregnant I knew I had to decorate the nursery with owls. Some may think I even went a little overboard, but I
 I love it all. Every square has a story. I hope that it means as much to Sam one day, as it means to his mommy every day.


